マイクロビットで動きを制御する、二足歩行ロボットをつくります。
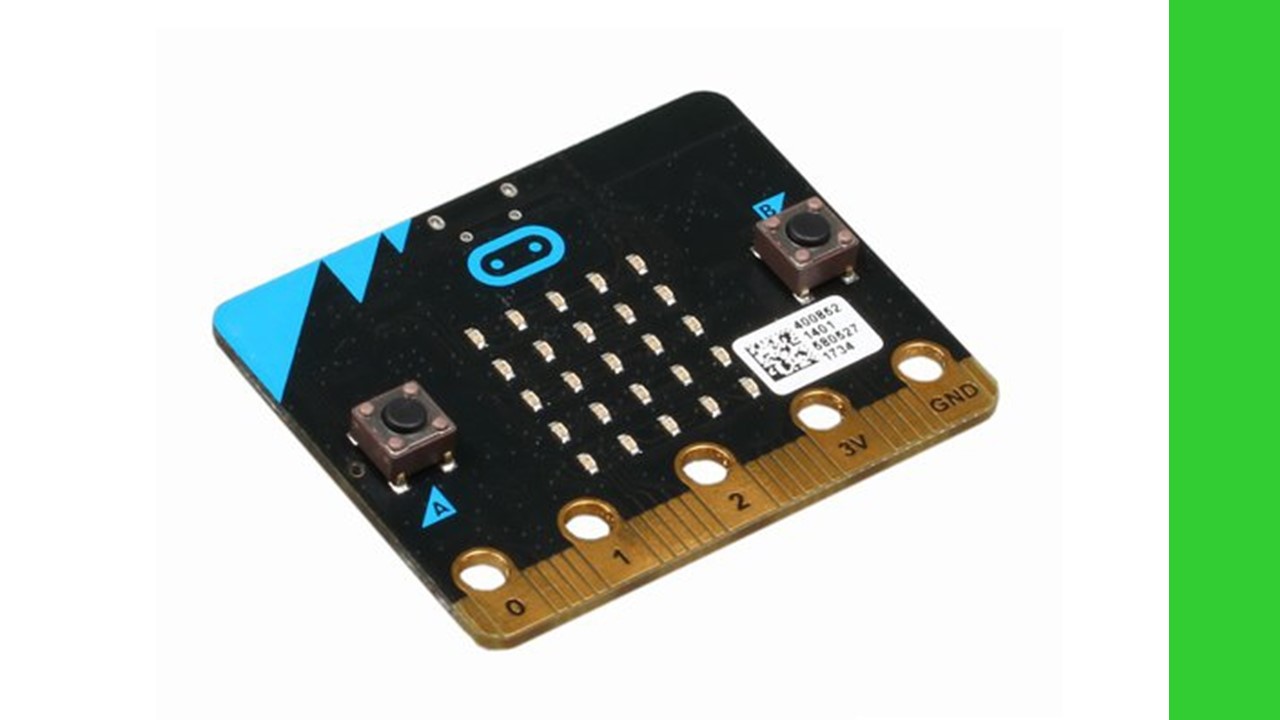
第一回の記事(こちら)で、どのようなロボットにするかを考え、それを踏まえて、マイクロビットで4つのサーボモーターを制御できることを確認し、回路構成を決定しました。
また、第二回の記事(こちら)では、3Dプリンタを使って、実際にロボットの筐体を作り、組み立てました。
今回は、マイクロビット用のプログラムを作成し、実際にロボットを歩かせてみます。
サーボモーターの角度調整用プログラム
まずは、初期状態でロボットがまっすぐ立っている状態になるように、各サーボモーターの角度(初期値)を調整しなければなりません。
そのために、以下のようなスケッチを作りました。
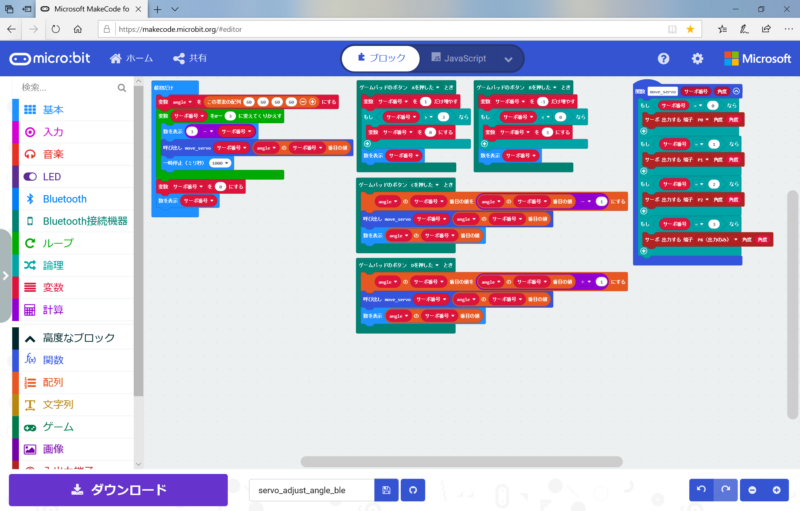
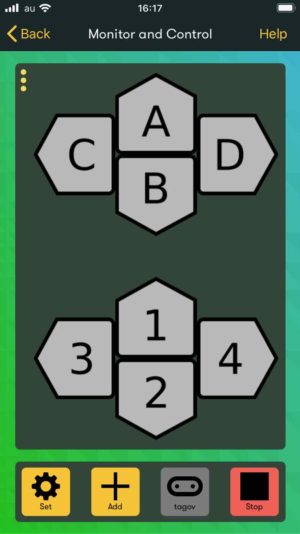
このスケッチでは、マイクロビットとiPhoneを無線接続し、iPhoneのコントロール画面で、各サーボモーターの角度を少しずつ動かします。
ちょうどまっすぐになった時の、サーボモーターの角度をメモしておきます。
画像だと見にくいので、JavaScriptのコードも掲載しておきます。
function move_servo (サーボ番号: number, 角度: number) {
    if (サーボ番号 == 0) {
        pins.servoWritePin(AnalogPin.P0, 角度)
    }
    if (サーボ番号 == 1) {
        pins.servoWritePin(AnalogPin.P1, 角度)
    }
    if (サーボ番号 == 2) {
        pins.servoWritePin(AnalogPin.P2, 角度)
    }
    if (サーボ番号 == 3) {
        pins.servoWritePin(AnalogPin.P8, 角度)
    }
}

devices.onGamepadButton(MesDpadButtonInfo.ADown, function () {
    サーボ番号 += 1
    if (サーボ番号 > 3) {
        サーボ番号 = 0
    }
    basic.showNumber(サーボ番号)
})

devices.onGamepadButton(MesDpadButtonInfo.BDown, function () {
    サーボ番号 += -1
    if (サーボ番号 < 0) {
        サーボ番号 = 3
    }
    basic.showNumber(サーボ番号)
})

devices.onGamepadButton(MesDpadButtonInfo.CDown, function () {
    angle[サーボ番号] = angle[サーボ番号] - 1
    move_servo(サーボ番号, angle[サーボ番号])
    basic.showNumber(angle[サーボ番号])
})

devices.onGamepadButton(MesDpadButtonInfo.DDown, function () {
    angle[サーボ番号] = angle[サーボ番号] + 1
    move_servo(サーボ番号, angle[サーボ番号])
    basic.showNumber(angle[サーボ番号])
})

let サーボ番号 = 0
let angle: number[] = []
angle = [60, 60, 60, 60]
for (let サーボ番号 = 0; サーボ番号 <= 3; サーボ番号++) {
    basic.showNumber(3 - サーボ番号)
    move_servo(サーボ番号, angle[サーボ番号])
    basic.pause(1000)
}
サーボ番号 = 0
basic.showNumber(サーボ番号)
2021年4月より、「devices」拡張機能は「非推奨」となり、普通の使い方では使用できなくなっています(発表資料は こちら)。 そのため、「devices」拡張機能を使わずに「Gamepad」を使用する方法について、こちら に記載しました。
ロボットをまっすぐ歩かせるプログラム
ロボットを歩かせるためのプログラムは以下のとおりです。
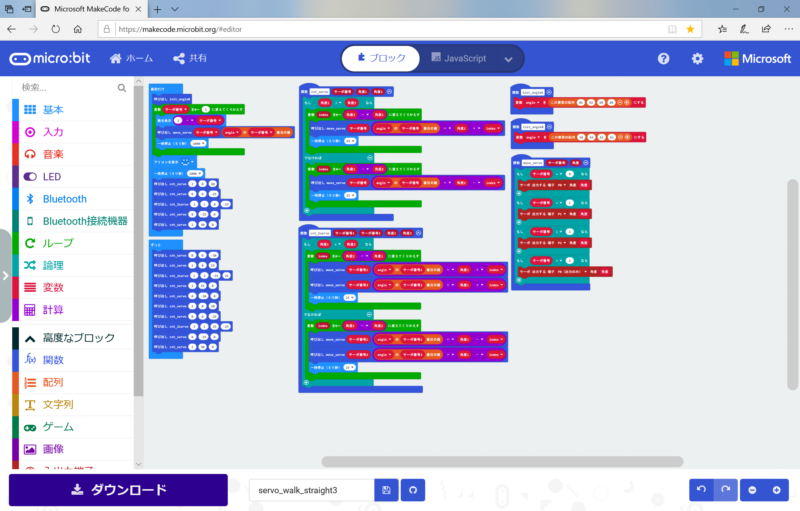
そこそこ長いプログラムですが、ただ単にロボットがまっすぐ歩くだけです。
第一回の記事で、ロボットを歩かせるための各サーボモーターの動きを説明しましたが、その動きを繰り返しています。
また、ロボットの動きをなめらかにするために、サーボモーターを動かすときには1度ずつ動くように、関数をつくりました。
なお、「angle」という配列に、各サーボモーターの角度(初期値)を設定していますが、この値は、先ほどのプログラムで調整した値です。
JavaScriptのコードでは以下のようになります。
function move_servo (サーボ番号: number, 角度: number) {
    if (サーボ番号 == 0) {
        pins.servoWritePin(AnalogPin.P0, 角度)
    }
    if (サーボ番号 == 1) {
        pins.servoWritePin(AnalogPin.P1, 角度)
    }
    if (サーボ番号 == 2) {
        pins.servoWritePin(AnalogPin.P2, 角度)
    }
    if (サーボ番号 == 3) {
        pins.servoWritePin(AnalogPin.P8, 角度)
    }
}

function cnt_servo (サーボ番号: number, 角度1: number, 角度2: number) {
    if (角度1 < 角度2) {
        for (let index = 0; index <= 角度2 - 角度1; index++) {
            move_servo(サーボ番号, angle[サーボ番号] + 角度1 + index)
            basic.pause(25)
        }
    } else {
        for (let index = 0; index <= 角度1 - 角度2; index++) {
            move_servo(サーボ番号, angle[サーボ番号] + 角度1 - index)
            basic.pause(25)
        }
    }
}

function cnt_2servo (サーボ番号1: number, サーボ番号2: number, 角度1: number, 角度2: number) {
    if (角度1 < 角度2) {
        for (let index = 0; index <= 角度2 - 角度1; index++) {
            move_servo(サーボ番号1, angle[サーボ番号1] + 角度1 + index)
            move_servo(サーボ番号2, angle[サーボ番号2] + 角度1 + index)
            basic.pause(25)
        }
    } else {
        for (let index = 0; index <= 角度1 - 角度2; index++) {
            move_servo(サーボ番号1, angle[サーボ番号1] + 角度1 - index)
            move_servo(サーボ番号2, angle[サーボ番号2] + 角度1 - index)
            basic.pause(25)
        }
    }
}

function init_angleA () {
    angle = [85, 92, 69, 89]
}

function init_angleB () {
    angle = [54, 66, 59, 58]
}

let angle: number[] = []

init_angleA()
for (let サーボ番号 = 0; サーボ番号 <= 3; サーボ番号++) {
    basic.showNumber(3 - サーボ番号)
    move_servo(サーボ番号, angle[サーボ番号])
    basic.pause(1000)
}
basic.showIcon(IconNames.Happy)
basic.pause(1000)
cnt_servo(2, 0, 30)
cnt_servo(0, 0, -25)
cnt_2servo(3, 1, 0, -25)
cnt_servo(0, -25, 0)
cnt_servo(2, 30, 0)

basic.forever(function () {
    cnt_servo(0, 0, -30)
    cnt_servo(2, 0, 25)
    cnt_2servo(1, 3, -25, 25)
    cnt_servo(2, 25, 0)
    cnt_servo(0, -30, 0)
    cnt_servo(2, 0, 30)
    cnt_servo(0, 0, -25)
    cnt_2servo(3, 1, 25, -25)
    cnt_servo(0, -25, 0)
    cnt_servo(2, 30, 0)
})
動作結果
このプログラムを動かした結果は以下のとおりです。
かなりあぶなっかしいですが、なんとか歩いています。
もっと安定して歩くようにするためには、筐体の形(特に足)などを、もっと工夫しないといけなさそうです。
最終的には、このロボットをiPhoneから操作できるようにしたいのですが、まだまだ先は長そうです。
なお、私がマイクロビットの使い方を習得するのにあたっては、以下の書籍を参考にさせていただきました。
初心者向けから、比較的高度なものまで、さまざまな情報が記載されているだけでなく、子供向けの作例も多数掲載されていますので、「プログラミング教育」のための題材さがしなどにもおすすめです。

